Own Your Data: Configuring BYOK for Enterprise SAAS
Quick Navigation
Overview of SAAS Key Management
What is AWS KMS?
What is BYOK?
How to set up AWS KMS for SaaS Applications
Configure Logging to Track Key Activity
- Set up CloudTrail
- Set up CloudWatch
Overview of SAAS Key Management
It's Q1, budgets have opened up for the year and your teams have started looking at new tools to improve how they work. They've decided on a major SAAS platform and started the process to procure the app. Inevitably, your security team begins to review the request and is concerned about the data that employees will share within the app, putting too much trust in the vendor and their cloud. The whole project comes to a screeching halt and the business is frustrated.
The above scenario is an extremely common occurrence in today's corporate environment. The IT/Security team is left grappling with meeting the business and user experience needs, while not allowing critical information to get in the wrong hands. SAAS apps inherently have more risk because you have to trust that the vendor has a robust security posture and is encrypting the data you put in it. On top of that, you have to trust that they are securing the encryption keys used to do so. It's like getting a storage unit and then giving the keys to your lock to the front desk person and relying on them to keep it safe and never enter your unit without permission. It's a lot of trust, and the constant data breaches in the headlines have shown that it's not a good way to operate.
To solve this, there is a new standard popping up among major SAAS companies like Salesforce, Slack (now part of Salesforce), Atlassian, Box, Asana, Miro/Mural, etc. This new standard allows companies to manage their own encryption keys, preventing the risk of the keys being stolen and preventing the vendor from accessing your data at will. This is known as Bring Your Own Key (BYOK), or Enterprise Key Management (EKM).
Note: An Enterprise tier plan for each app is most likely required to use this feature
Amazon Web Services (AWS) offers its own key management product, called AWS Key Management Service (KMS), which allows you to generate keys for other products. In this article, we'll explore what AWS KMS is, how it works, and how you can set it up to use with your company's SaaS applications.
What is AWS KMS?
AWS KMS is Amazon's service for generating, storing, and administering encryption keys. AWS KMS uses AES-256 as its encryption standard, which is considered to be one of the most secure encryption algorithms available. This service is often used to protect data and applications that are hosted in your own AWS environment.
If you want a deeper dive, here's a great overview of AWS KMS and how Slack uses the technology to encrypt data today:
What is BYOK?
Bring Your Own Key (BYOK) is a security feature that enables customers of SAAS applications to use their own encryption keys to protect their data in the vendor's cloud.
Typically SAAS vendors would encrypt your data themselves. If they host their application in AWS, it's likely that they use AWS KMS on their own and store your keys on their side. Theoretically, this can be a risk as the SAAS vendor can use the keys to access your data as they please. BYOK allows you to provide your own keys to encrypt the servers in their AWS account, reducing this risk since you are responsible for controlling who can access the data and how the keys are stored.
Using BYOK can help meet regulatory requirements, as some industries require that certain data be encrypted using keys that are managed and controlled by the customer. BYOK can also help mitigate the risk of data breaches, as even if a cloud provider's infrastructure is compromised, the attacker would not have access to your encryption keys.
How to set up AWS KMS for SaaS Applications
- If you do not have one already, create a free AWS account.
- Search for KMS in the top search bar and select Key Management Service

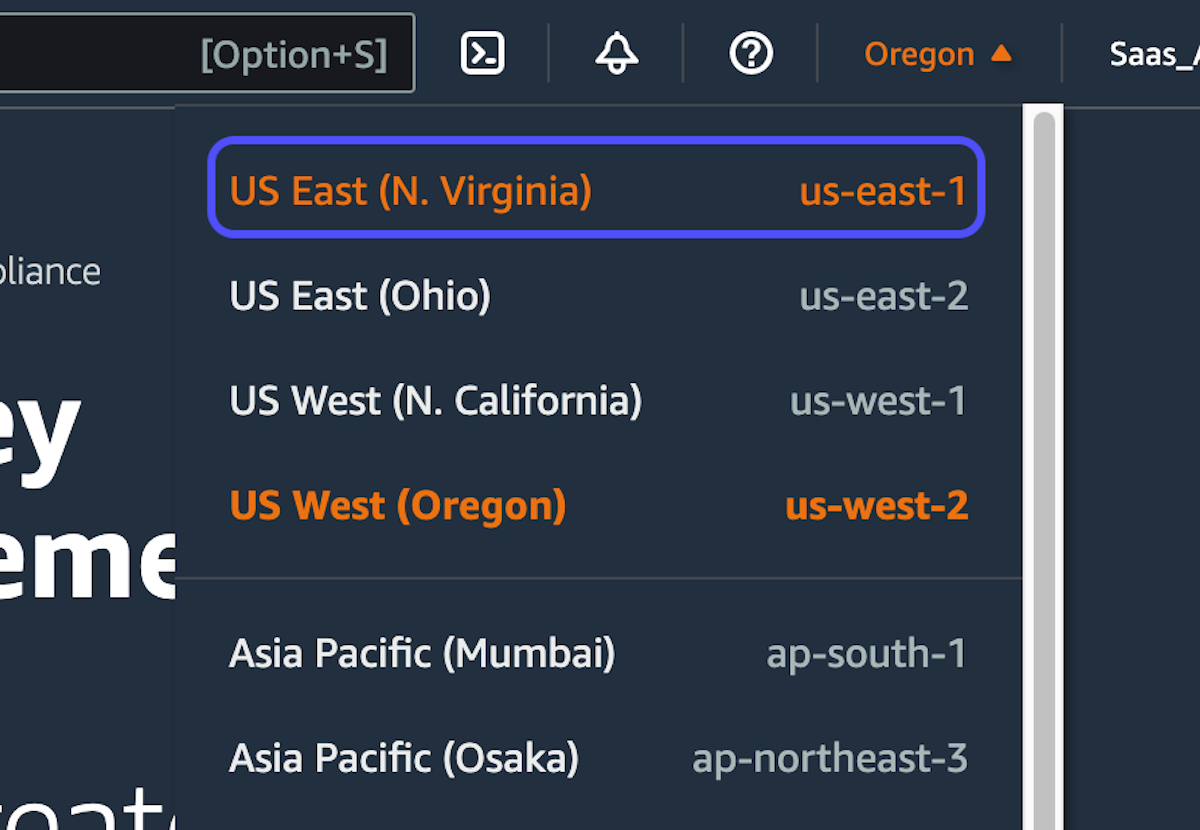
3. Click on your region in the top right and select the appropriate location.
4. Click on Create a key
5. Select "Symmetric" for Key type
6. Select "Encrypt and decrypt" for Key usage
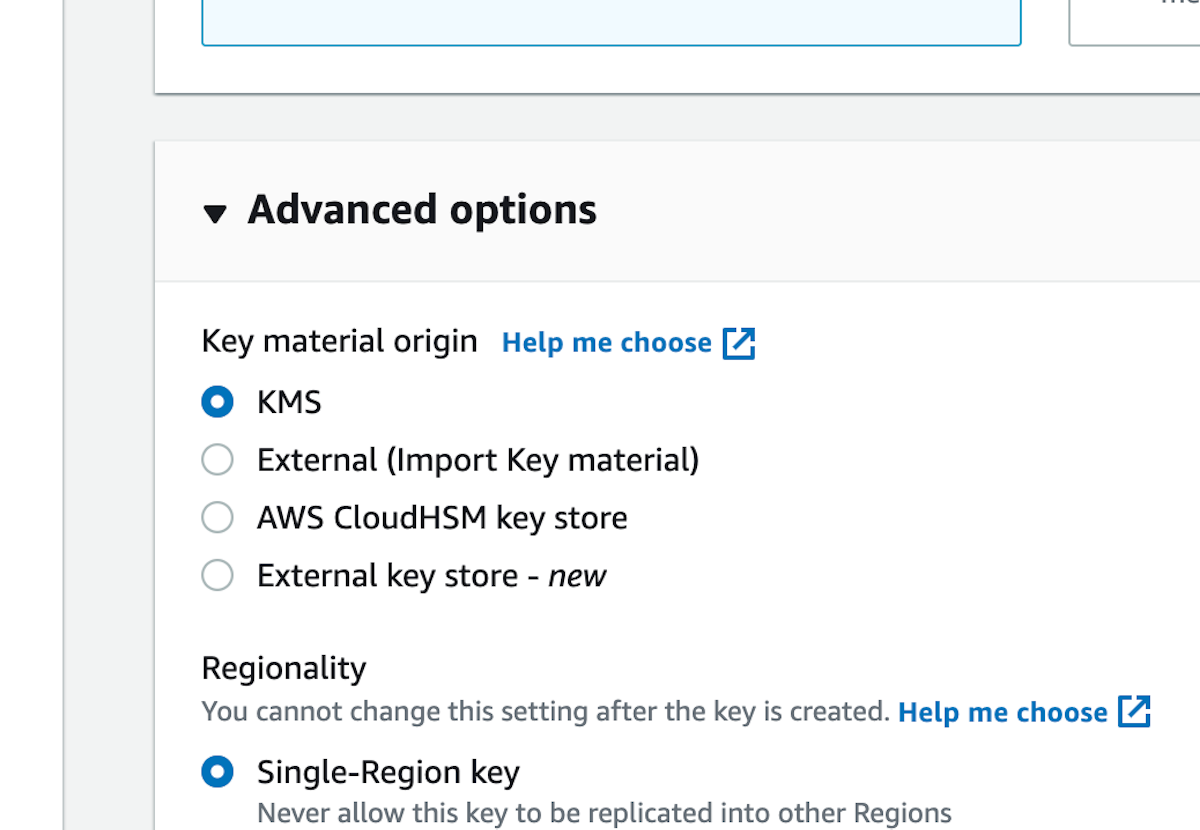
7. Accept the defaults for Advanced Options, which should be "KMS" and "Single-Region key"
8. Click on Next
9. Give your key a name/alias
- A good format I recommend is to include the name of your company, the name of the app, and the name of the environment in all lower case or all CAPS. For example: acme-slack-sandbox
10. Enter a description
- Provide some context or detail for someone who may reference the keys later down the line in your absence. You can enter tags if you'd like but it is not required.
11. Click on Next
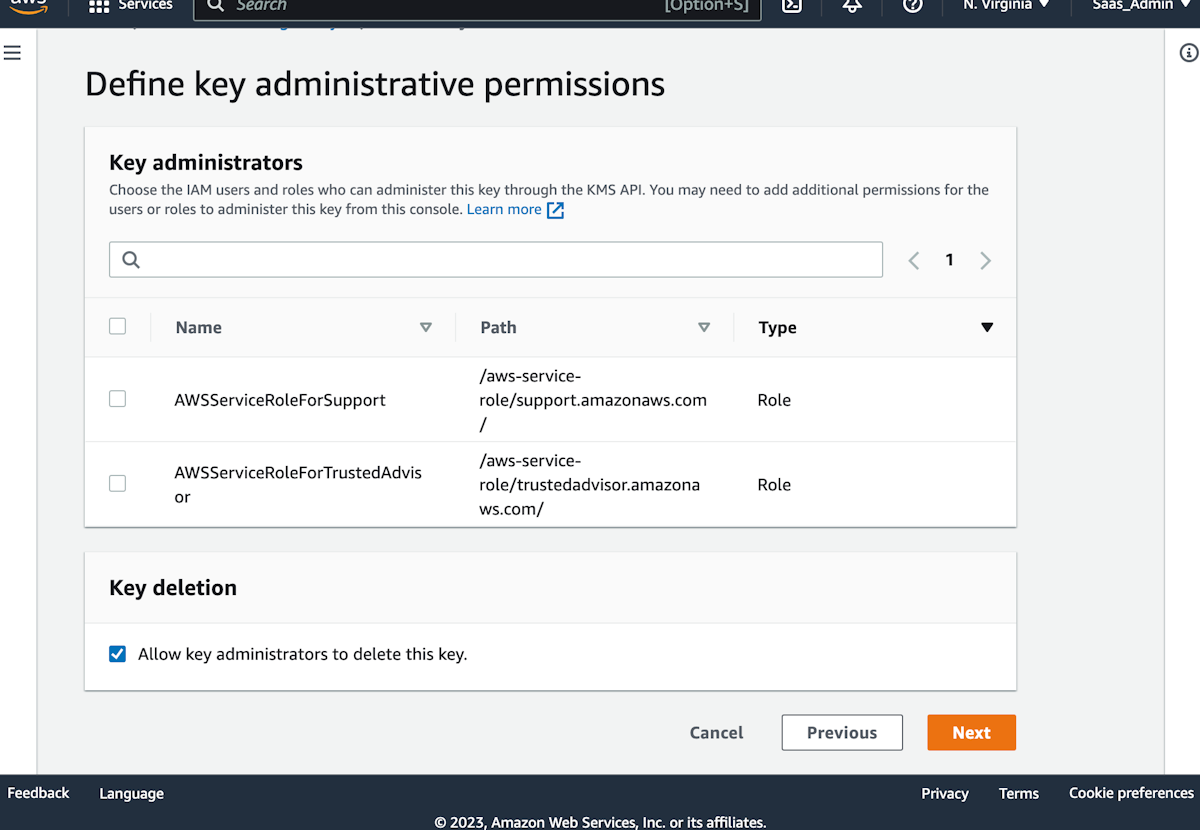
12. Accept all defaults on the Define key administrative permissions page
- Leave all boxes unchecked under administrators. Key deletion can be left as is unless you'd like to remove this ability.
13. Click on Next
14. Scroll down on the Define key usage permissions page to Other AWS Accounts
15. Enter the SAAS vendor's AWS Account number(s)
- Check with your SAAS vendor technical contact to get their AWS account number(s). There are likely multiple, so be sure to get all of the accounts necessary

16. Click on Finish
17. Click on the key name or alias you just created

18. Copy the ARN and share this with your SAAS technical contact
- This is known as YOUR_CMK_ARN

19. Configure your key policy
- On your KMS landing page in the AWS console, select "Customer managed keys" on the left
- Select "Switch to policy view"

- Select "Edit". This will be where you implement any necessary policies to revoke access to data from users within the SAAS app.
- Each vendor likely has a specific minimum key policy necessary for their product to properly encrypt/decrypt data
- Request the policy JSON needed from the vendor or refer to their documentation
- Pase the JSON data and "Save changes"
20. Provide your ARN to the SAAS vendor to complete the configuration
Configure Logging to Track Key Activity
Logging is an important part of BYOK. These services will allow you to track when and how the SAAS vendor is using your encryption keys, and even details such as reason codes if the vendor supports it.
Set up CloudTrail
1. In your AWS console, search for and select "CloudTrail"

2. Click on the orange "Create a trail" button
3. Select the link to "go to the full Create trail workflow"

4. Give your trail a name. I recommend a format like: app-environment-logs
5. For Storage Location, you can leave the default selected which should be "Create new S3 bucket"
6. I recommend checking the "Log file SSE_KMS encryption" box to enabled
- This will encrypt your logs and create a separate key in KMS for this encryption
- Give your new key an alias that is descriptive enough so it is not confused with your other KMS Key for your application

7. Click on Next
8. Check "Management events" and "Insights events"

9. Check "API call rate" and "API error rate". (These are optional but useful to track)

10. Click on Next
11. Click on Create trail
With CloudTrail complete, you are now logging activities related to your KMS Key such as every API request (decrypt, generate key, etc) and file uploads.
Set up CloudWatch
1. In your AWS console, search for "roles". Under IAM, select the "Roles" option

2. Click on Create role

3. For entity type, select "AWS account"

4. Select "Another AWS account" and enter the vendor Account number you used in the previous step. If you do not have this or are not sure which to use, refer to your SAAS vendor documentation or contact the technical contact on their team to verify.

5. Click on Next
6. Click on Create policy

7. Click on the JSON tab
8. Paste the following:
{
    "Version": "2012-10-17",
    "Statement": [
        {
            "Effect": "Allow",
            "Action": [
                "logs:CreateLogGroup",
                "logs:CreateLogStream",
                "logs:DescribeLogStreams",
                "logs:PutLogEvents"
            ],
            "Resource": [
                "arn:aws:logs:*:*:log-group:YOUR_LOG_GROUP_NAME",
                "arn:aws:logs:*:*:log-group:YOUR_LOG_GROUP_NAME:log-stream:*"
            ]
        }
    ]
}
9. Replace "YOUR_LOG_GROUP_NAME" with something you prefer such as: COMPANY_APP_ENVIRONEMNT_LOG_GROUP
10. Scroll down to the bottom and Click on "Next: Review"
11. Give your policy a name such as: "app-environment-kms-logs"
12. Click on Create policy
13. Click on Next
14. Click on Refresh in the Permissions policies list

15. Check the box next to your newly create policy in the list
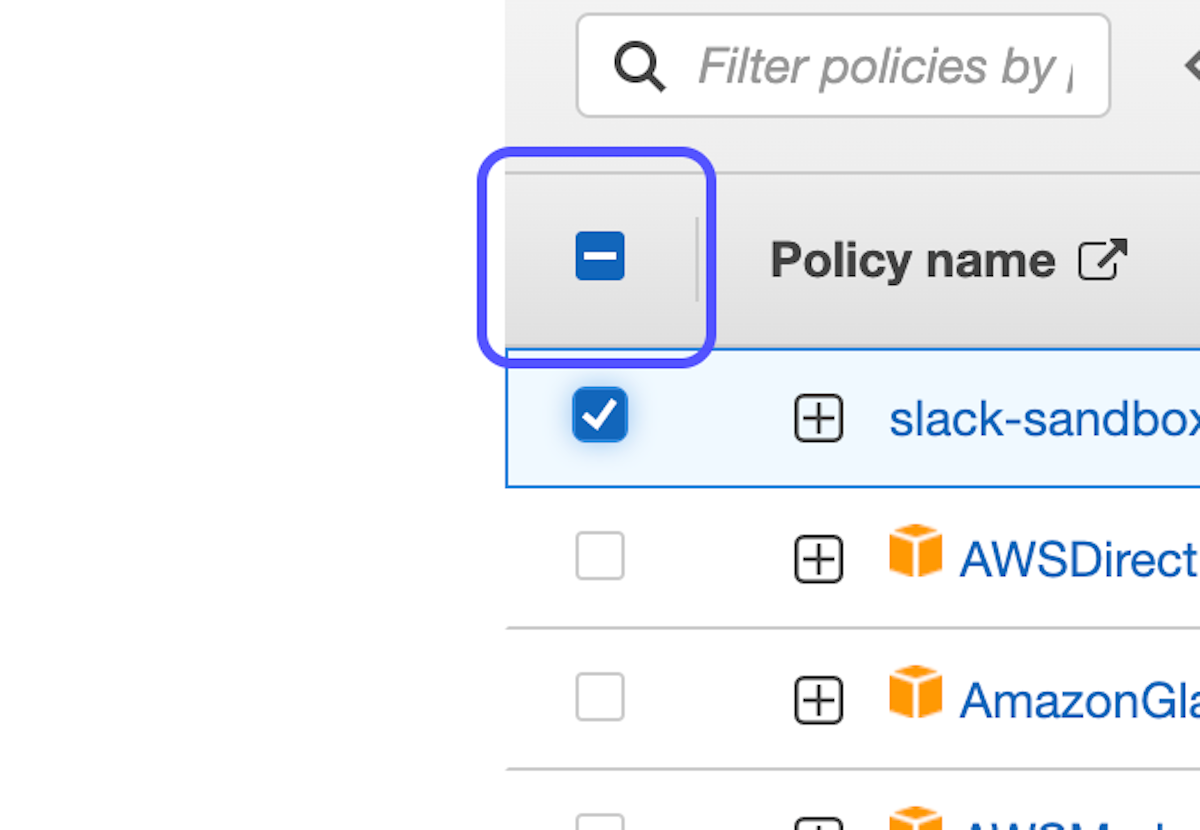
16. Click on Next
17. Give your new role a name such as "app-environment-kms-logging"
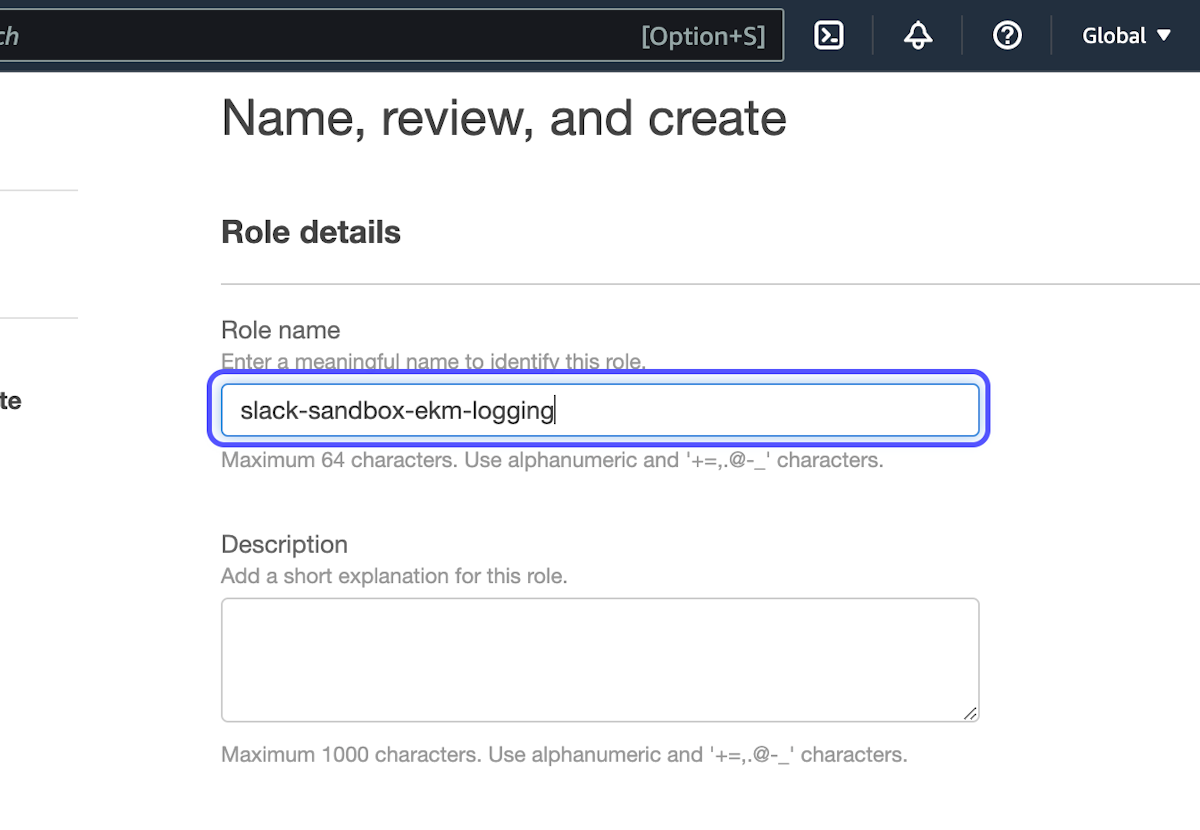
18. Click on "Create role"
19. Click on your newly create role in the list
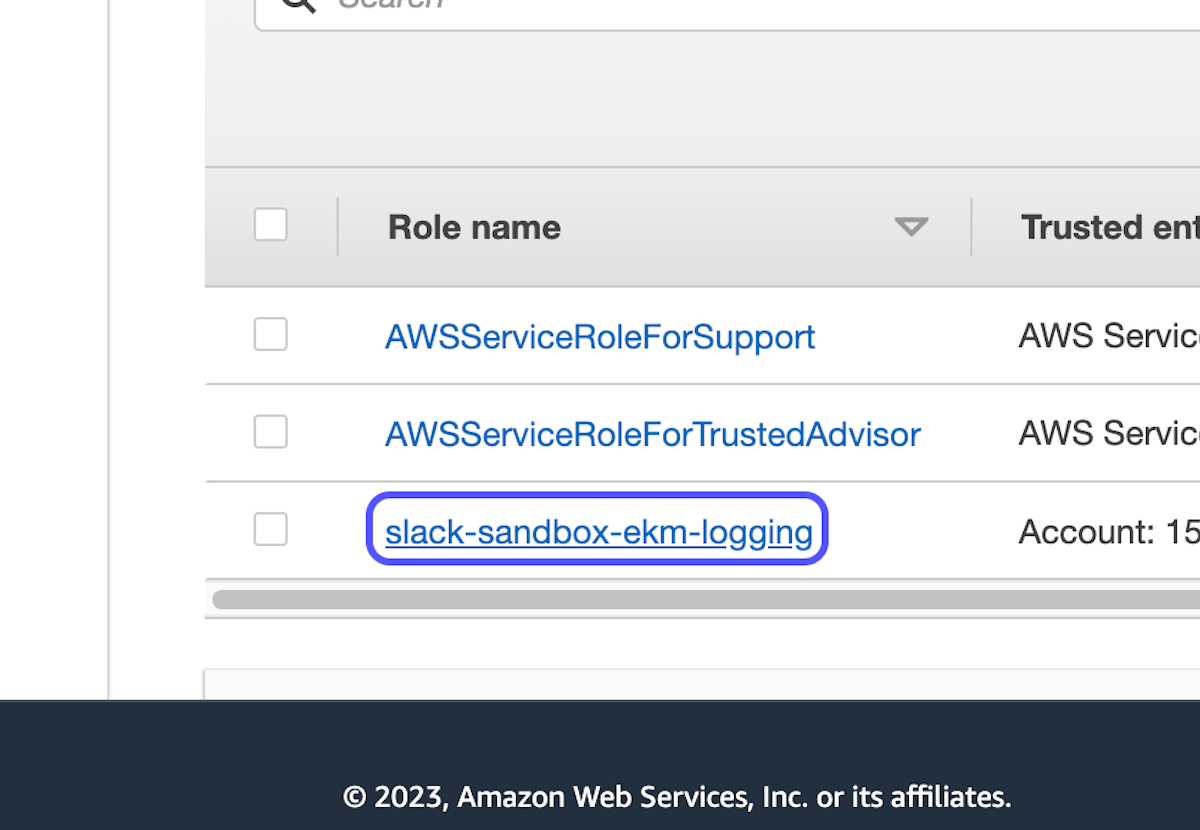
20. Click to Copy your ARN
- This is known as YOUR_ROLE_ARN

21. Provide YOUR_ROLE_ARN and YOUR_LOG_GROUP_NAME to your SAAS technical point of contact to configure on their side and connect their KMS service to your logs.
That's it!
As always, it is important to follow best practices for key management and to stay up-to-date with the latest security measures to ensure the continued protection of your data.
Here are some references to learn more about BYOK/EKM for various SAAS providers:
Slack
Atlassian
Asana
Miro
Mural
Salesforce
Box
If you found this guide helpful, please share & subscribe to stay updated on new articles!
This week's post is supported by:

Productive businesses use 1Password to secure employees at scale.
1Password makes it simple to create and share unique, strong passwords. More than 70,000 companies, including 25 percent of Fortune 100 companies such as IBM, as well as technology leaders like Slack and Dropbox, trust 1Password to secure their business.
Member discussion