The Complete IT Guide to Zero Touch Onboarding
Onboarding new employees is a critical process for any organization. It not only sets the tone for their relationship with the company but also helps them feel welcomed and prepared to tackle their new responsibilities. However, traditional onboarding & offboarding processes can be lengthy, complicated, and expensive, especially in hybrid or remote environments. The advent of zero-touch onboarding/offboarding (ZTO) is a game-changer that can save time, reduce costs, and improve employee satisfaction. In this article, we will discuss what ZTO is, its benefits, and the steps involved in implementing it from an IT Perspective.
A few important notes before we dive in:
- While there are many onboarding guides out there, many of them are focused on only one aspect of the process and trying to sell you a product. This guide intends to provide a vendor-neutral, holistic look into the entire employee journey from an IT point of view.
- This guide is a framework and assumes you have a Saas-first tech stack. You may have to adapt the steps as needed if your environment is more complex, but the principles remain the same.
TLDR-
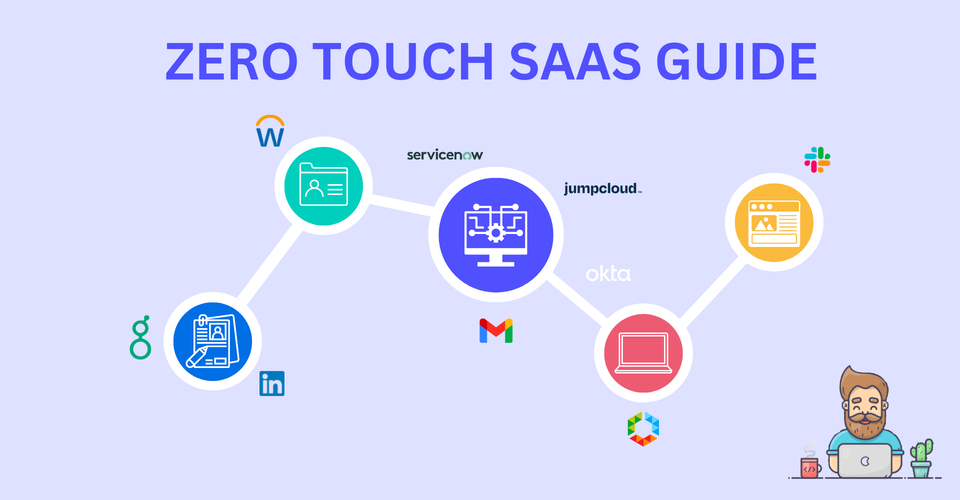
Automate every step of onboarding and offboarding by integrating all of your systems as follows: ATS > HRIS > Directory > Mailbox, MDM, & IDP > SaaS Apps, Ticketing System, & more
Quick Navigation
What is ZTO?
Benefits of Zero Touch
Get started with ZTO at your company
Steps to Implement ZTO (with examples)
What is ZTO?
ZTO is a method of onboarding or offboarding employees without requiring any manual work. You may have previously heard of Zero Touch in reference to device deployment, however, modern ZTO encompasses more of the process than the hardware alone. It relies on digital tools to automate the entire process from start to finish. By leveraging various software solutions, ZTO enables companies to onboard new employees faster and more efficiently while reducing errors and improving data security.
The ultimate goal of ZTO during onboarding is
"Ready Day 1".
Employees should not have to waste their first few days fumbling with device setup, access requests, etc, and should instead be able to immediately begin integrating with their team.
Benefits of Zero Touch
In case you or your leadership need any convincing, implementing a ZTO process can bring several benefits to the organization, such as:
- Less work for IT: Probably the most important benefit for us, ZTO eliminates the endless tickets, data entry, etc that plague IT when employees enter or leave the company.
- More scalable: We've all had those times when there's a sudden influx of new hires or people leaving the company. Having a ZTO framework allows flexibility for scaling up quickly to meet the needs of the business, similar to scaling cloud services based on resource demand.
- Improved accuracy: ZTO ensures that all necessary employee data is completed correctly, minimizing the risk of human errors.
- Enhanced security: ZTO solutions can provide a more secure process by minimizing the sharing of data between departments, and adding or removing access to company resources in a timely manner.
- Faster onboarding: With ZTO, new employees can complete their onboarding process faster than traditional methods, allowing them to start contributing value to the organization quickly.
- Better employee experience: ZTO can help new employees feel welcomed and supported as they transition into their new role, resulting in higher job satisfaction and retention, or even increase "boomerangs" in the case of offboarding.
Get started with ZTO at your company
Many IT departments don't consider the onboarding/offboarding of an employee to start until they receive the ticket from HR or the manager. My challenge to IT admins is to break out of that mindset, it should not be a game of waiting until something is tossed over the fence to you and then tossing it over the fence when your tasks are done. To solve this, spend some time with your stakeholders and map out the entire employee journey or create a service blueprint for each touchpoint along the way. ZTO sits at the very beginning and very end of that map.
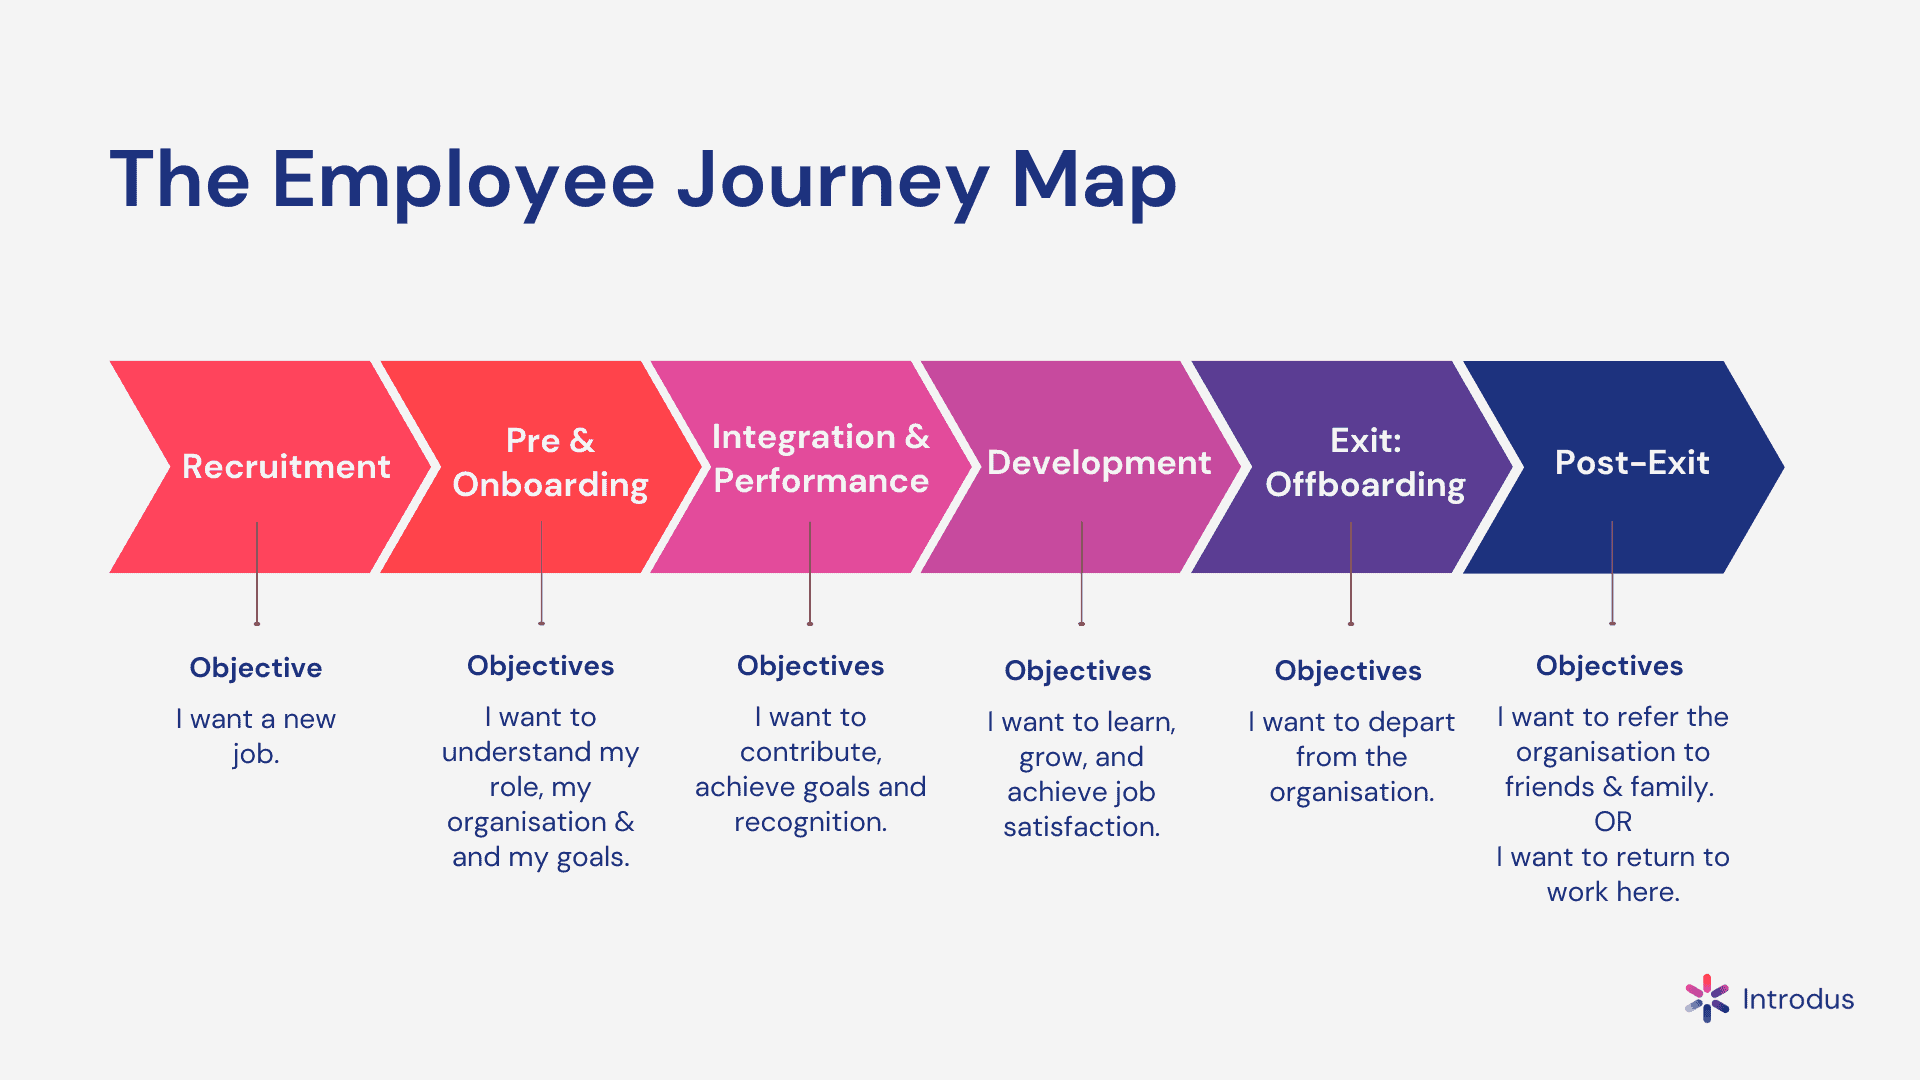
Here are the tactical things you should include when mapping this out for your company:
- Types of Employees (FTE, Contractors, Interns, etc)
- Candidate/Employee Actions
- HR/Recruiting Touch Points
- IT Touch Points
- Systems Involved
- Flow of Data between systems
- Any communication to the Employee or Internal team members (manual or automated)
Now you should have a full view of every step in the entire process. This is also a good point to see if there's potential to improve the process and eliminate steps before you build it into your tech.
Implementing ZTO
Let's get to the reason you're even reading this guide – the tech. There are 2 critical components of ZTO aside from your core tech stack: Integrations & Communications.
Integrations
There are way too many integrations for me to give a detailed walkthrough at every step, and they are obviously dependent on whichever software you are using. Here's what you need to know:
- Each integration needs to consist of sending data and/or triggering an action
- Most SaaS solutions already have hundreds of "out-of-the-box" integrations with other Saas providers, before you do anything, check if one already exists
- If an out-of-the-box integration doesn't exist, you have a few options.
- Create the integration manually with a Python or PowerShell script and tap into each vendor's APIs
- Utilize webhooks from each platform to send data to the next system.
- Note: Webhooks are not as secure as APIs, I recommend reading up on webhook security before going this route. - Use a low-code automation or iPaaS platform such as Workato, Microsoft Power Automate, etc
- Use a Saas Management/Saas Ops Platform such as Bettercloud, Torii, LeanIX, etc
Communications
Throughout the entire process, there are things that need to be sent to different people at different stages. I strongly recommend automating as much of this as you can, instead of relying on managers, HR, etc to manually send emails. Here are some examples to get your wheels turning:
- A welcome email is sent with information about your company culture, employee handbook, etc
- An automated survey is sent to the new hire to ask questions like preferred device type, # of monitors needed, t-shirt size, etc.
- An encrypted, automated email is sent to the new hire with their employee id, username, and instructions for setting up their first-time password.
- An employee leaving the company is sent instructions and a return label for their equipment
Many products may have built-in notifications or automated emails, however, if you're looking for a centralized service I am a big fan of Enboarder (not a sponsored recommendation).
Technical Steps Involved
Believe it or not, ZTO starts from the minute an employee submits an application to your company. This is where you need to begin:
1. Applicant Tracking System (ATS) → Human Resources Information System (HRIS).
We've all been through the grueling task of filling out page after page of personal information just to apply to a company. Don't let that data go to waste. Once someone submits their information into your ATS, whether directly through an application or through a 3rd party like LinkedIn, make sure that data gets sent to your HRIS to build their employee profile. This saves HR from having to do manual data entry every time someone accepts an offer with your company.
Example:
- Export hired candidates via webhook in Greenhouse
2. HRIS → Payroll/Accounting/ERP
If your HRIS is separate from your Payroll/Accounting software, this is a good point to create their payroll account and kick off the W4 process, Benefits Enrollment, etc BEFORE they start on their first day.
Example:
- ADP Integration Marketplace
3. HRIS → Directory
This is a critical step for setting up or removing employees in the rest of your infrastructure. Once an employee is marked as "Offer Accepted" or "Hired" in your HRIS, this should trigger an account to be created in your Directory. Conversely, once an employee is terminated in your HRIS, their directory account should be immediately disabled. These changes will then flow downstream to you other systems.
Note: While many HRIS platforms also have the ability to also provision applications for employees, I recommend leaving that to your Identity Provider (IdP).
Examples:
- Configure Workday to Azure AD user provisioning
- Workday Integration for JumpCloud
- HR-Driven IT Provisioning with Okta
4. Directory → Device Management
Once a user has a directory account, the data should be synced with your Endpoint Management platform of choice. This will allow syncing of the local device password with your directory and IdP/SSO platform, creating a seamless and secure user experience. You can also trigger events like locking or wiping devices if the directory account is disabled.
Example:
- Integrating Microsoft Azure Active Directory (AAD) with Workspace ONE UEM
- Overview of Workspace ONE and Okta Integration
4.a. Zero Touch Device Deployment
To take it one step further, you can setup Zero Touch Deployment with Macs, Windows, or even iOS and Android devices using Apple DEP, Windows Autopilot, or Android Enterprise. This allows a user to simply turn on the device, it is then recognized as corporate-owned and begins the enrollment process.
Examples:
- Setting up Windows Autopilot using Workspace ONE UEM
- Automatically enroll Macs in Intune with Apple Business Manager
5. Directory → Mailbox
Every employee needs email, so the next step should be getting them set up in your office suite and provisioned with an email address & mailbox.
Examples:
- Integrating Google Workspace with JumpCloud
- For Microsoft shops, the Microsoft 365 Account can be created when the user is provisioned in Azure AD from your HRIS
6. Directory → IDP
You might be wondering, why have a Directory service and an IdP? Conveniently, Azure AD performs both of these functions. However, if you're not using Azure AD, you'll likely need an IdP like Okta and a Directory service. Okta has directory features, but you're unable to use them to sync the computer's local password, RADIUS servers, etc. By leveraging a Directory solution like Jumpcloud, you'll have a centralized directory for all of your employee data that can push to your Idp, Endpoint Management solutions, and networks to keep everything synced.
Examples:
- Configuring Okta to use JumpCloud's LDAP-as-a-Service (Jumpcloud is the source of truth for the username & password and pushed to Okta)
- Effortlessly Extend Okta Identities to JumpCloud (Okta is used to manage username and password and pushed to Jumpcloud)
7. IDP → Ticketing System
While not totally necessary, it can be helpful to create a ticket to make sure all tasks are tracked and completed. If this makes sense for your company, it's best to have the ticket triggered automatically instead of requiring HR or the manager to submit one. Think outside the box here if you can, and consider tracking tasks like may not only be for IT such as ordering swag kits.
Examples:
- Use Okta Workflows to Create ServiceNow ticket
7.a. Ticketing System → Device Distributor
When you get to a certain scale, it might make sense to outsource your device inventory management to a drop shipper. If you do this, you can work with them to make sure the zero-touch deployment gets correctly configured for all device OS types and laptops can be delivered directly to end users without ever needing to be handled by your team.
Example:
- Zero-touch, factory provisioning with SHI
8. IDP → Applications
Modern IDPs like Okta and Azure AD use a standard called SCIM provisioning to automate the account creation of employees into various SaaS tools. Configuring SCIM allows you to assure that your employee can log in to Slack, Miro, Asana, Salesforce, or any other app they might need on Day 1.
Example:
- Azure AD App Provisioning
- Okta Lifecycle Management
8.a. IDP → LMS
As a bonus step, have your IDP provision your users into your company Learning Management System before they start. This will allow them to begin their required training to minute they power up their machine, instead of having to wait for them to be assigned.
Now that you have the entire flow configured, your HRIS becomes the source of truth for all of your employee data and status. You've created a low-effort and streamlined onboarding process, and equally as important, you've created a responsive and secure offboarding process that is in the hands of HR. Access can be revoked in a matter of minutes if needed, because everything will flow downstream all the way to your SaaS apps, devices, etc.
If you found this guide helpful, please share & subscribe to stay updated on new articles!
This week's post is supported by:
Productive businesses use 1Password to secure employees at scale.
1Password makes it simple to create and share unique, strong passwords. More than 70,000 companies, including 25 percent of Fortune 100 companies such as IBM, as well as technology leaders like Slack and Dropbox, trust 1Password to secure their business.
Member discussion